
To create a GTA 6-style character in FanPro Studio, open Influencer Builder and select Insider Primas. In the Builder tab, select Anime, choose the Grand Theft preset and pick a gender. The builder selects a starting set of traits for you. Scroll through them, change anything you want, then click Generate Image. If the defaults suit your idea, you can generate without changing them.
You do not need to write a character prompt or configure every detail from scratch. Start with the open-world game look, then decide who belongs in your story: the getaway driver, the beach regular, the unreliable friend or the character who turns a simple errand into a disaster.
The quick start: choose a preset, review, generate
- Open Influencer in FanPro Studio. In the top selector, choose Insider Primas, then open the Builder tab. The Grand Theft quick-start preset is available on Primas.
- Select Anime, then choose the Grand Theft preset.
- Choose Female or Male for your character. Check that Grand Theft remains selected.
- Scroll down to review the traits the preset has selected. Keep them, or adjust the details you want to change.
- Click Generate Image. Review the result before using the character in your next scene.
Keep the preset—or make it your own
A preset is a starting point, not a checklist of fields you must fill in. FanPro has already selected traits for the character. Scroll through the sections and keep anything that fits your idea. You only need to change the details that matter to you.
| What you want to change | Where to look |
|---|---|
| Skin tone | Identity & Skin → Skin Tone |
| Face, eyes or facial hair | Face |
| Hair color, length or style | Hair |
| Body type, chest, waist or hips | Body; options depend on the selected character setup |
| Clothing direction | Fashion & Accessories → Aesthetic |
| Tattoos | Body Art; choose None for no tattoos |
For example, you might keep the preset’s face and hair but choose a different skin tone. Or keep the identity details and change the clothing direction for a beach scene. You do not have to revisit every section before generating.
Optional: choose the skin tone you want
Under Identity & Skin, find Skin Tone and select the swatch you prefer. The screenshot highlights Tan as one example; you can keep the preset’s selection or choose another available tone. There is no single required skin tone for a GTA-style character.
Optional: adjust body proportions and smaller details
Continue down to Body if you want to adjust the character’s build. Review the available chest, waist, hip and other body settings, and change only the ones you want. You can leave these at their current values. Some additional controls appear inside a section’s Advanced options.
Body Art is optional too. The example below selects None for a character without tattoos. Choose another available option if tattoos are part of the look you have in mind. These choices help distinguish the cast before you give each person a role in a scene.
Before generating, take a quick look at the selected trait labels near the preview. They provide a summary of your choices. If they match what you want, you are ready.
Generate and choose the result you want to keep
Click Generate Image and let the generation finish. Review the output in the preview and the Influencers panel. Look at the face, hair, skin tone, outfit and overall proportions together: does this feel like the person you want in your story?
If you want a different look, adjust the relevant trait and generate another version. Changing one or two details at a time makes it easier to see which choices moved the result in the right direction.
Meet Sandra, Padma and Sanjay
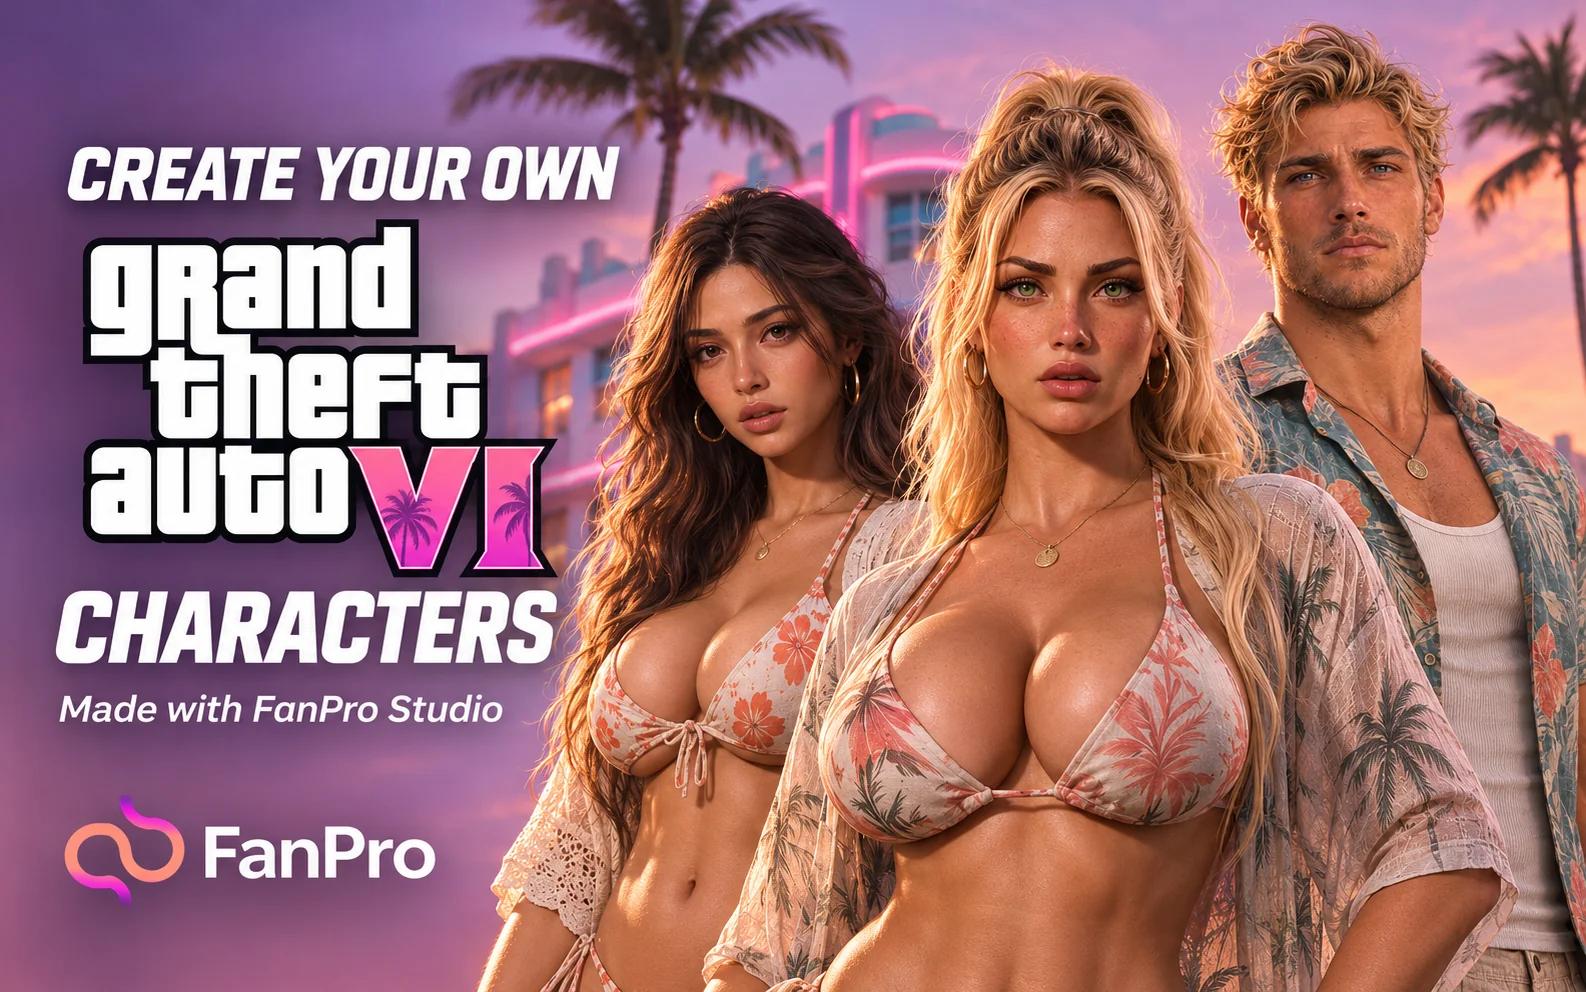
These are actual character outputs created in FanPro Studio and supplied for this walkthrough. They show different directions for an original GTA VI-inspired cast. The beach outfits and individual appearances are examples, rather than a promise that the preset will produce these exact images.
Think about the contrast between characters, too. Different silhouettes, hair and clothing can make a cast easier to recognize. Give each one a role or personality after you have a look you want to keep.
Turn your character into the start of a story
A character portrait gives you a person to build around. A cutscene adds a setting, an action and a reason to watch. Start with something specific: a driver waiting for a pickup, two friends arguing about a plan, or someone who takes a very ordinary job far too seriously.
For a recurring series, keep a clear reference of the character you have chosen. Use it when preparing the images for each new scene, then review the face, hair and distinguishing details across the results. The character-building step and the scene-building step serve different purposes: first choose your cast, then direct what they do.
Next, explore turning an image into a video, or read the full Influencer Builder guide for the broader character workflow.